High-Density Grinding Media Balls for Industrial Applications

The 85% Problem
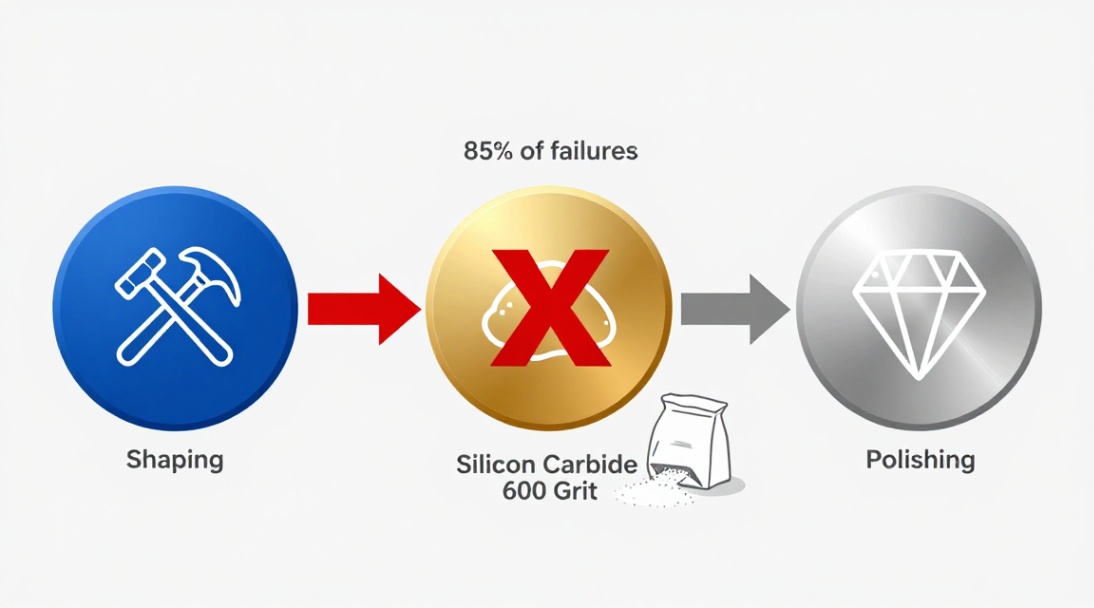
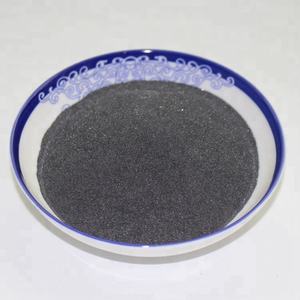
Most rock tumblers fail in the final stretch. They produce decently shaped stones, but the polish never quite shines. The culprit is almost never the polish grit itself. It’s the step before it. A staggering 85% of polishing problems start with an inadequate pre-polish. Your rocks need a flawless, scratch-free surface before any polish can work its magic. This is where silicon carbide powder 600 grit for rock tumbling supplies becomes the single most important tool in your arsenal.
Why Silicon Carbide at 600 Grit?
We have other options. Aluminium oxide is common. But silicon carbide has a secret. Its particles fracture into sharper, more aggressive edges. This gives it a cutting speed that aluminum oxide lacks. For removing the scratches left by your 220 grit coarse stage, you need that efficiency. The 600 grit designation is the sweet spot. It’s fine enough to erase the deep gouges but aggressive enough to still cut effectively. It creates the uniform, satin-smooth foundation that polish requires. Think of it as sanding wood before varnishing. You would never apply a glossy finish over rough sandpaper scratches. The same logic applies to rocks.
Your Step-by-Step Guide to the 600 Grit Stage
Let’s walk through the process together. We’ll assume your rocks have already been through a successful coarse grind and are clean.
Step 1: Preparing the Slurry
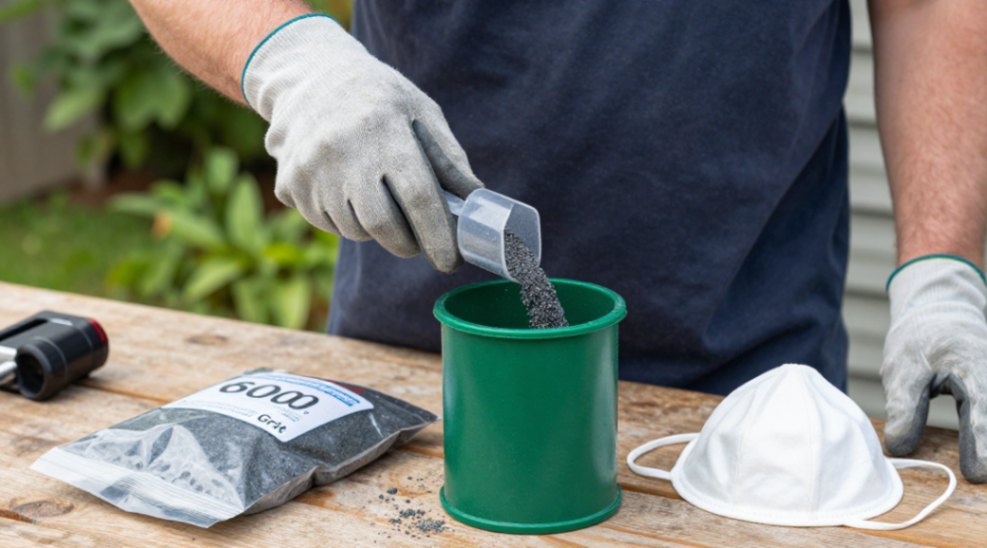
Measure your silicon carbide powder 600 grit. A standard 3-pound tumbler barrel needs about 3 level tablespoons of grit. Precision matters. Too little grit and the process drags on. Too much and you create a thick paste that cushions the rocks instead of grinding them. Add this grit to your clean, empty barrel.
Step 2: The Perfect Barrel Charge
Fill the barrel 2/3 to 3/4 full with your tumbled rocks. This is the charge. Underfilled barrels lack impact. Overfilled ones cannot tumble freely. Add just enough water to cover the rocks by about 1/4 inch. You want a creamy, liquid slurry, not a thick mud. Screw the lid on tightly. This step is non-negotiable.
Step 3: The Tumbling Cycle
Place the barrel on your tumbler and let it run. For a rotary tumbler, plan on 7 to 10 days. Vibratory tumblers work faster, often requiring 3 to 5 days. Check the barrel every other day. Listen for a sloshing sound, which means water has evaporated. Add a small amount of water to maintain the slurry consistency. Do not open the barrel frequently. Each opening releases the grit’s sharp edges and slows progress.
Step 4: The Clean Break
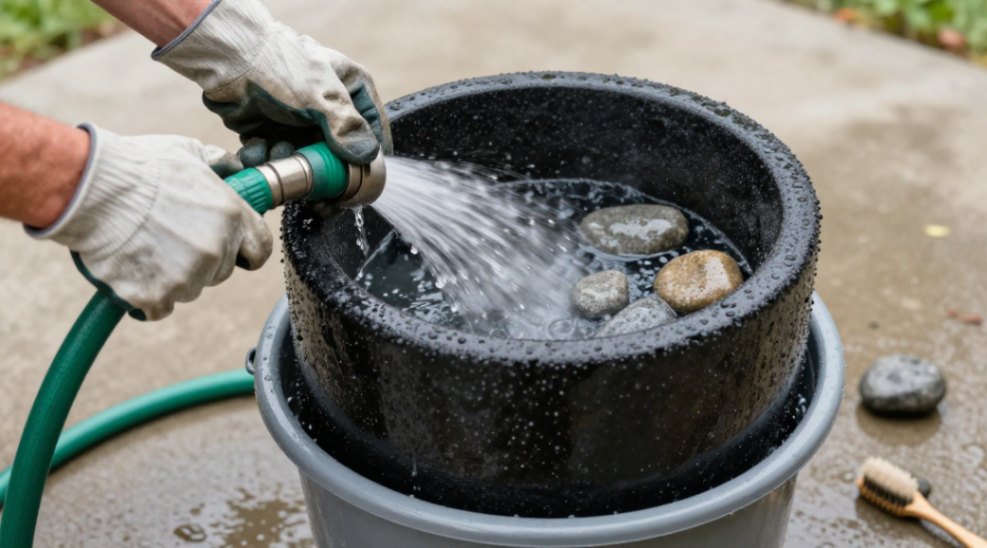
After the cycle, cleaning is critical. Dump the contents into a large bucket or strainer over a disposable container. Do not wash grit down your sink. It will settle and solidify in your pipes. Rinse the rocks and barrel thoroughly with a garden hose. Use an old toothbrush to scrub every crevice of the barrel and lid. Any leftover silicon carbide powder will contaminate your next stage and ruin the polish. Your rocks should feel uniformly smooth to the touch, with a consistent matte sheen.
Here is a summary of the key operational parameters:
Tumbler Type: Rotary or Vibratory
Grit Amount (3lb barrel): 3 tablespoons silicon carbide powder 600 grit
Water Level: Cover rocks by 1/4 inch
Run Time (Rotary): 7-10 days
Run Time (Vibratory): 3-5 days
Critical Check: Water level every 2 days
Common Mistakes We All Make (And How to Avoid Them)
We learn from errors. I’ve made them so you don’t have to. Rushing the stage is the biggest error. If your rocks don’t have a uniform satin finish, they are not ready for polish. Stop. Run them another two days. Incomplete cleaning is the second killer. One speck of 600 grit silicon carbide in your polish barrel will leave fine scratches on every stone. Be meticulous. Using worn-out grit is the third. This powder loses its cutting edge. For consistent results, use fresh silicon carbide powder 600 grit for rock tumbling supplies for each new batch.
Sourcing and Safety: A Quick Word
Source your grit from reputable lapidary supply shops. Look for vendors who specialize in rock tumbling supplies. The quality and consistency of the grit particle size matter. When handling the dry powder, wear a dust mask. Silicon carbide dust is an irritant. We want beautiful rocks, not a cough. Work in a well-ventilated area or outdoors when loading the barrel.
The Path Forward from Here
Your rocks are now perfectly prepped. The surface is a blank, scratch-free canvas. The next step is your chosen polish, whether it’s tin oxide, cerium oxide, or aluminium oxide polish. It will glide over that smooth 600-grit surface and develop a deep, reflective shine. The journey from rough stone to gem is a process of patience and precision. Mastering the 600 grit stage is the skill that separates decent results from professional, mirror-finish gems. Now you know the secret. Go apply it.
eduloc founded on October 17, 2012, is a high-tech enterprise committed to the research and development, production, processing, sales and technical services of ceramic relative materials such as The. Our products includes but not limited to Boron Carbide Ceramic Products, Boron Nitride Ceramic Products, Silicon Carbide Ceramic Products, Silicon Nitride Ceramic Products, Zirconium Dioxide Ceramic Products, etc. If you are interested, please feel free to contact us.
RELATED POSTS

Do you know about natural flake graphite?
Will the German Chancellor visit to Africa to buy gas affect the market for the time delay relay wiring diagram in Germany
The Self-Healing Coating Technology On The Surface Of Silicon Carbide Balls Has Been Introduced
how to grind rush medals dragon ball legends
220 Grit Abrasive Powder Warning: Stop Ruining Your Non-Ferrous Metal Finishes