High-Density Grinding Media Balls for Industrial Applications

The Story of the Missed Deadline: Why 1500 Grit Matters
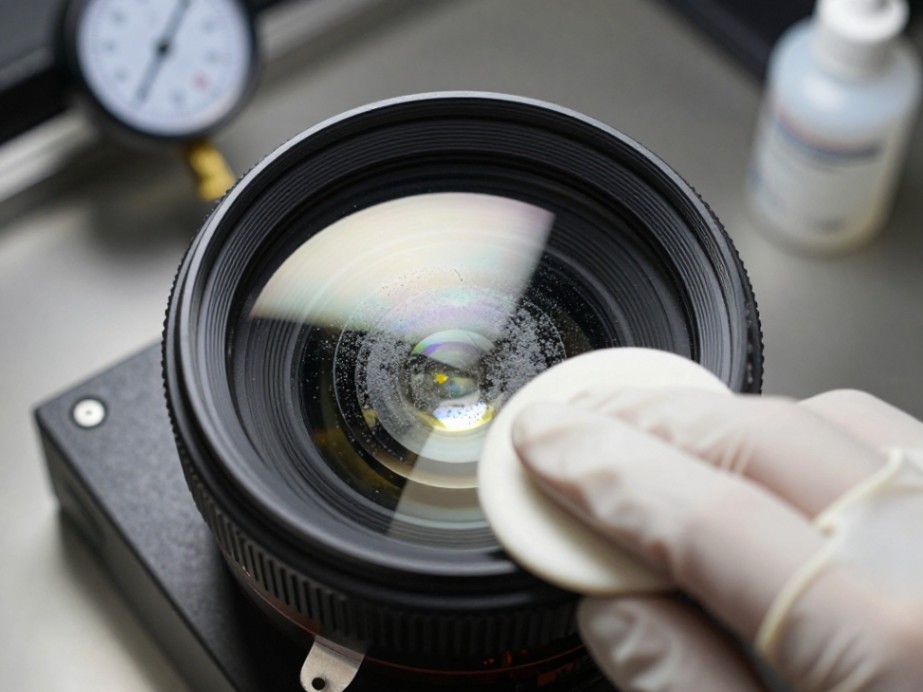
Years ago, I watched a batch of premium camera lenses fail final inspection. The surfaces looked perfect-until the polish. Tiny, ghostly scratches appeared. The culprit? An impatient shift supervisor skipped a step in the grinding sequence. We were using a finer grit, thinking we’d save time. We lost a week. This experience cemented a fundamental truth in optics: precision isn’t a destination. It’s a series of deliberate, non-negotiable steps. And the 1500 grit silicon carbide abrasive for optical lenses is one of the most critical gates you’ll pass through.
1. The Defining Role of 1500 Grit in Optical Finishing
The 1500 grit designation is more than a number. It’s a specific particle size range, typically defined by the FEPA standard as having a mean particle diameter of ~8.4 µm. Its primary role is scratch pattern removal. You use it to erase the deeper, more aggressive signature left by coarser grits (like 600 or 1200) while meticulously creating a new, ultra-fine, and uniform surface texture. This stage directly determines the efficiency of your final polishing cycle and the integrity of the subsurface layer.
1.1. Where 1500 Grit Sits in the Abrasive Progression
Think of the abrasive sequence as a staircase. Each step must be stable.
- Step 1 (Roughing): 220 – 600 grit. Removes bulk material and shapes the lens.
- Step 2 (Fine Grinding): 800 – 1200 grit. Establishes basic surface form and removes major subsurface fractures.
- Step 3 (Critical Transition): 1500 grit silicon carbide abrasive. This is the bridge. It eliminates all 1200-grit scratches and reduces subsurface damage to a minimal, predictable depth-often less than 2-3 µm.
- Step 4 (Pre-Polish): 2000 – 3000 grit. Further refines the surface, often with a diamond compound, to a near-polished luster.
- Step 5 (Polishing): Cerium oxide or zirconia slurry. Achieves the final, defect-free optical surface.
2. Why Silicon Carbide? The Material Science Advantage
For optical grinding, silicon carbide (SiC) is not always the final step, but it is the preferred workhorse for the critical mid-range stages. Here’s why the data favors it for the 1500 grit application.
- Hardness & Sharpness: At ~9.5 on the Mohs scale, SiC is harder than optical glass. Its particles fracture into sharp, angular edges that cut cleanly, unlike rounded alumina which can cause more rolling and bruising.
- Thermal Conductivity: SiC disperses heat efficiently. This reduces the risk of thermal stress and micro-cracks on the lens surface during the grinding process.
- Chemical Stability: It does not react with standard water-based slurry carriers, ensuring consistent performance and slurry life.
As Dr. Lena Schmidt, a materials engineer specializing in precision optics, notes: “In our lab tests, a well-controlled 1500 SiC step reduces the subsequent polishing removal depth by up to 40% compared to a rushed or poorly executed sequence. That’s direct savings in time and expensive polishing compound.”
3. The Operational Blueprint: Executing a Perfect 1500 Grit Step
Success with 1500 grit silicon carbide abrasive for optical lenses hinges on controlled variables. Here is the detailed operational method.
3.1. Slurry Mixing & Concentration
- Base Carrier: Use deionized (DI) water. Resistivity should be >1 MΩ·cm to prevent ionic contamination.
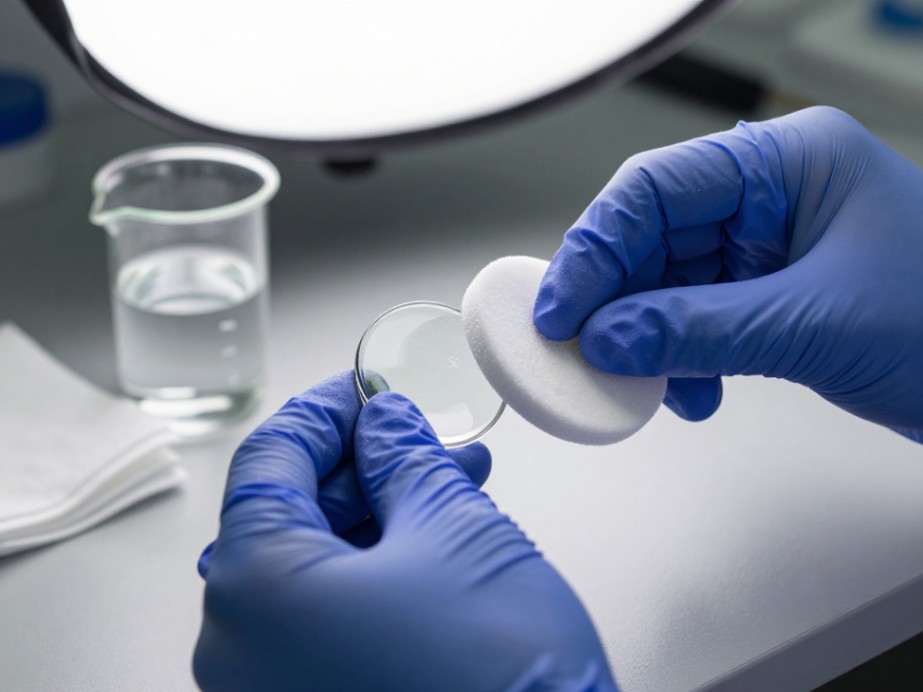
- Abrasive Concentration: Mix at a ratio of 1 part SiC powder to 5 parts DI water by weight (a 16.7% concentration). This provides an optimal balance of cutting action and slurry flow.
- Mixing Procedure: Add powder slowly to the water under constant mechanical agitation for 15 minutes. Let the slurry settle for 1 hour, then decant the middle portion for use. This removes oversized and undersized particles.
3.2. Pressure, Speed, and Pad Selection
- Machine Pressure: Apply 0.5 to 0.8 bar (7 to 12 psi) per lens block. Higher pressure increases removal rate but risks deeper subsurface damage.
- Platen Speed: Maintain 80 to 120 RPM. This range provides a consistent, predictable scratch pattern.
- Pad Choice: Use a medium-hardness polyurethane pad with a Shore D hardness of 60-70. Softer pads conform too much; harder pads don’t hold slurry effectively.
3.3. Critical Quality Control Metrics
Before proceeding to polish, inspect the lens. A proper 1500 grit finish should meet these benchmarks:
- Surface Roughness (Ra): Measured via white-light interferometry. Target Ra value: 0.08 – 0.12 µm.
- Subsurface Damage (SSD) Depth: Assessed via taper polishing or MRF spot analysis. Must be < 2.5 µm.
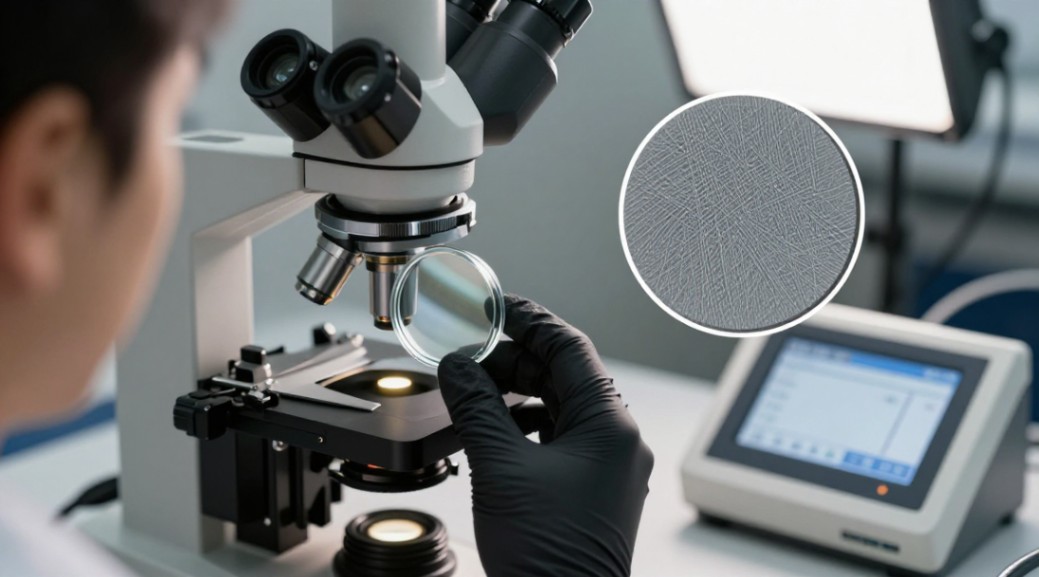
- Visual Inspection: Under a 40x microscope with darkfield illumination, the surface should show a uniform, matte grey finish with no visible scratches from the previous (1200 grit) step.
| Parameter | Specification | Unit | Rationale |
|---|---|---|---|
| Abrasive Grit | Silicon Carbide, FEPA 1500 | – | Clean cutting, thermal management |
| Slurry Concentration | 16.7% (1:5 powder:DI water) | Weight % | Optimal material removal & flow |
| Applied Pressure | 0.5 – 0.8 | bar | Balances rate & subsurface damage |
| Platen Speed | 80 – 120 | RPM | Predictable scratch pattern generation |
| Target Surface Roughness (Ra) | 0.08 – 0.12 | µm | Ideal pre-polish surface texture |
4. Industry Trends & Material-Specific Decisions
The choice between 1200, 1500, and 2000 grit isn’t arbitrary. It’s a strategic decision based on your lens material and final specification.
- For Standard Crown Glass (BK7): The progression 1200 → 1500 → Polish is standard. 1500 is mandatory for removing 1200-grit damage.
- For Hard, Brittle Materials (Fused Silica, SF6): Consider a longer progression: 1200 → 1500 → 2000. The 1500 step is critical to gradually step down fracture depth without inducing new cracks.
- For Soft Materials (Phosphate Laser Glass): You may skip 1200 and start at 1500 to minimize initial deep fractures. The 1500 grit silicon carbide abrasive acts as your coarse grind here.
The trend in high-volume production is toward tighter control of the 1500 grit stage through automation. Modern CNC polishing machines now log slurry flow rates, pressure, and time for this step, creating a digital fingerprint for every batch. This data is gold for traceability and continuous improvement.
5. Your Path Forward: From Knowledge to Practice
You now have the blueprint. The data. The methods. Your next move is systematic. Start by auditing your current grinding sequence. Pull a lens after your existing 1500 grit step-or whatever step you use before polish. Put it under a darkfield microscope. What do you see? Are the scratches uniform? Can you see the ghosts of the previous grit? Measure the surface roughness. The numbers will tell you a story.
Then, mix a batch of slurry exactly to the 16.7% specification. Run a controlled test on a single lens block with the parameters in the table above. Compare the results. The difference in surface uniformity and polishing time will be your most convincing proof. This isn’t just a process step. It’s the foundation of optical clarity. Master it, and you master the craft.
eduloc founded on October 17, 2012, is a high-tech enterprise committed to the research and development, production, processing, sales and technical services of ceramic relative materials such as The. Our products includes but not limited to Boron Carbide Ceramic Products, Boron Nitride Ceramic Products, Silicon Carbide Ceramic Products, Silicon Nitride Ceramic Products, Zirconium Dioxide Ceramic Products, etc. If you are interested, please feel free to contact us.
RELATED POSTS

Niobium Ammonium Oxalate C4H4NNbO9 powder
zinc dodecyl stearate
The drop in freight demand due to the pandemic has also had an impact on the market for what is freight on board
Silicon Oxide Powder SiO2 cas 14808-60-7
From Powder to Plate: A Ceramist’s Guide to Silicon Carbide Composite Armor