High-Density Grinding Media Balls for Industrial Applications

The Scratch in the Lapidary Shop
I remember the first time I ruined a beautiful piece of agate. I had moved from a coarse 80-grit diamond pad to a 600-grit ceramic polishing pad, confident the transition was smooth. The result was a haze of fine scratches that no amount of polishing could remove. That’s when my mentor, an old-timer named George, slid a small jar of gritty, grey-green powder across the workbench. “Forget the fancy pads for now,” he said. “Let’s talk about silicon carbide.” That jar of silicon carbide powder became the most versatile tool in my shop. It’s the unsung hero of gemstone finishing, and mastering it separates hobbyists from professionals.
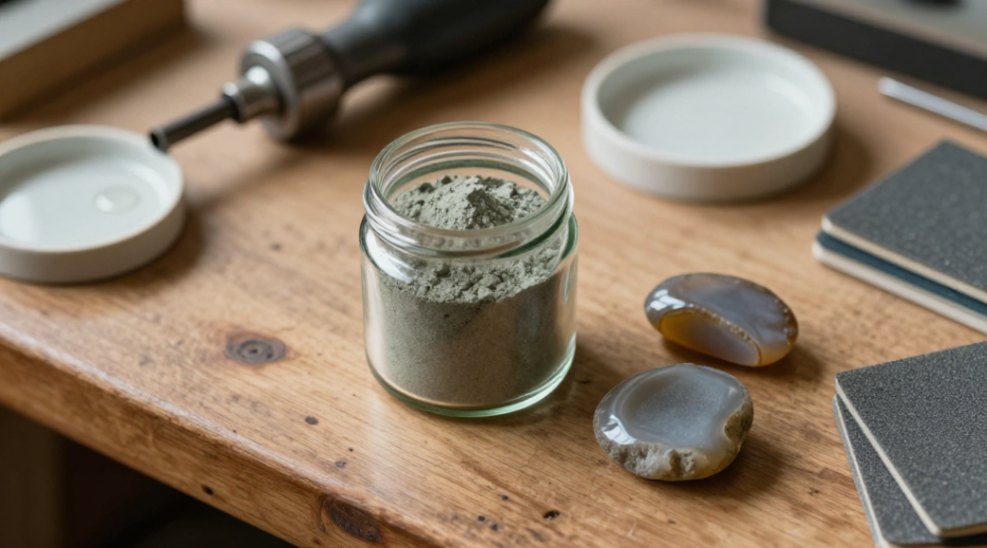
Why Silicon Carbide? The Hard Facts
We choose silicon carbide powder for polishing gemstones because it works. Its properties make it ideal for the controlled, aggressive material removal that gem shaping demands. Let’s break down why.
Silicon carbide (SiC) is a synthetic compound nearly as hard as diamond. On the Mohs scale, diamond is a 10. Silicon carbide sits at 9.2-9.5. This extreme hardness means it can abrade almost any gemstone material efficiently. But the real magic is in its fracture. Silicon carbide grains are sharp and angular. They fracture into smaller, equally sharp pieces as you work, maintaining a consistent cutting action. This is called friability.
Compare that to aluminum oxide, another common abrasive. It’s softer (Mohs 9) and the grains tend to round off, becoming less effective. Diamond is harder but far more expensive, and its slurry can be messy. For the heavy grinding and intermediate sanding stages, silicon carbide powder offers the perfect balance of aggressiveness, control, and cost. Many users on lapidary forums like Reddit’s r/Lapidary swear by it for pre-polish work, noting it “cuts fast and leaves a predictable surface for the final polish.”
Your Silicon Carbide Grit Roadmap
Using the wrong grit is the most common mistake. You can’t jump from rough shaping to a mirror finish. You need a progression. Think of it like climbing a ladder; you must step on each rung. Here is the standard grit progression for transforming a rough rock into a polished gem.
| Grit Size (Mesh) | Particle Size (Microns) | Primary Role | Visual Result on Stone |
|---|---|---|---|
| 60 – 100 | 250 – 150 | Rough shaping, removing major flaws and saw marks. | Deep, coarse scratches. |
| 120 – 220 | 125 – 63 | Refining shape, removing the deep scratches from coarser grits. | Visible scratches, but smoother surface. |
| 320 – 400 | 44 – 37 | Pre-polish preparation. This stage is critical for final clarity. | Dull, matte finish with very fine scratches. |
| 600 – 1200 | 25 – 12 | Final sanding before polish. Removes the last of the microscopic scratches. | Satin sheen, no visible scratches to the naked eye. |
Pro Tip: Never skip more than one grit size in your progression. Jumping from 120 grit to 600 grit will leave the deeper 120-grit scratches untouched, and you’ll waste hours at the 600 stage making no progress.
Step-by-Step: The Polishing Process from Start to Finish
Let’s walk through the process. We assume you have a trimmed slab or rough stone, a flat lap machine or vibrating lap, and safety gear.
Step 1: Setup and Safety
This is non-negotiable. Silicon carbide powder creates fine dust. You need a respirator with P100 filters, safety glasses, and nitrile gloves. Work in a well-ventilated area or use a dust extraction system. Protect your workspace with a plastic sheet.
Step 2: Mixing the Slurry
Never use the powder dry. You create a slurry. For a standard 8-inch lap plate, start with one leveled teaspoon of silicon carbide powder. Add water slowly, stirring until you achieve the consistency of whole milk. Too thick and it will clump and scratch; too thin and it lacks cutting power. The slurry should flow freely but coat the plate.
Step 3: The Grinding and Sanding Sequence
Start with your coarsest grit (e.g., 100). Apply the slurry to the center of your clean, flat lap plate. Turn on the machine. Hold the stone firmly and press it against the plate. Use a light, even pressure-let the abrasive do the work. Move the stone in a consistent pattern (figure-eight or circular) to ensure even wear. Keep the stone and plate wet. Add water drop by drop to maintain the slurry consistency.
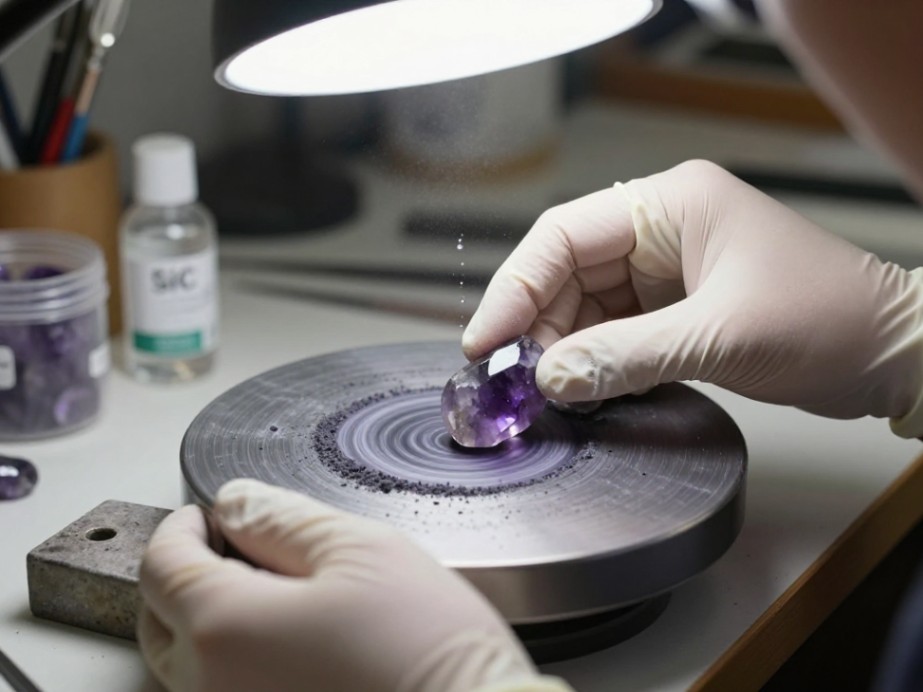
Grind until all previous marks are gone. For a 100-grit stage, this means all saw marks are erased. Rinse the stone and your hands thoroughly in a separate bucket of water. This is crucial. A single grain of 100-grit carried over will ruin your next stage. Clean the lap plate completely with water and a brush.
Repeat this process for each grit in your progression: 220, 400, 600, 1200. Each time, you work until the scratches from the previous grit are completely replaced by the finer, uniform scratches of the current grit. Inspect under a bright light at a 45-degree angle between stages.
Step 4: Final Polish Transition
After the 1200-grit silicon carbide stage, the stone should have a uniform satin finish. Rinse everything meticulously. Now, switch to your final polishing compound (cerium oxide for quartz, diamond for harder stones) on a separate, dedicated polishing pad. The perfectly prepared surface from the silicon carbide steps will accept a brilliant, scratch-free polish in minutes.
Beyond the Basics: Pro Tips and Pitfalls
Stone Matters: For soft stones like opal or fluorite, use lighter pressure and a faster progression (e.g., 220, 400, 600). For hard materials like sapphire or agate, you can be more aggressive.
Pressure is Your Enemy: Pushing down harder does not cut faster. It fractures the abrasive grains prematurely, loads the plate, and creates heat that can crack the stone. Use firm, controlled, gentle pressure.
The Cleanliness Rule: Contamination is the #1 cause of poor results. Have separate mixing cups and brushes for each grit if possible. Always rinse in a bucket, not under a running tap where splatter can contaminate your workspace.
Where to Find Quality Powder and What to Do Next
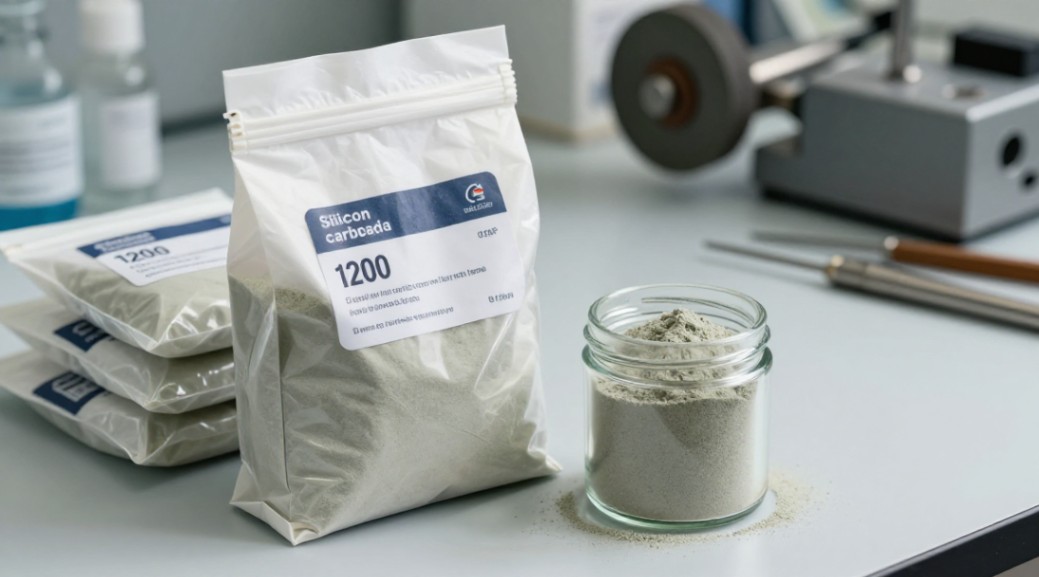
Look for suppliers that specialize in lapidary or industrial abrasives. The powder should be a consistent, clean grey-green colour. Purchase it in small amounts (1 lb bags) by grit to start. Avoid “bulk” mystery grit.
The next step is practice. Find some cheap agate or quartz practice stones. Follow the steps above. Focus on the feel-the sound and drag of the stone on the plate will tell you if the slurry is right. Master the silicon carbide progression, and your final polish will always be flawless. This knowledge is the foundation. Now go get that jar of powder and start practicing. Your first mirror-finish cabochon is waiting.
eduloc founded on October 17, 2012, is a high-tech enterprise committed to the research and development, production, processing, sales and technical services of ceramic relative materials such as Silicon. Our products includes but not limited to Boron Carbide Ceramic Products, Boron Nitride Ceramic Products, Silicon Carbide Ceramic Products, Silicon Nitride Ceramic Products, Zirconium Dioxide Ceramic Products, etc. If you are interested, please feel free to contact us.
RELATED POSTS
High Purity 3D Metal Printing Cobalt Chromium Molybdenum CoCrMo Powder
The First Esg Report Of The Alumina Ball Industry Was Released
Silver Telluride (Ag2Te)-Sputtering Target
Zinc Sulfide Market Report and Outlook (2025-2030) sulfide zinc
Magnesium Chloride (MgCl2)-Powder
