High-Density Grinding Media Balls for Industrial Applications

What is Silicon Carbide Polishing Powder?
Silicon carbide (SiC) powder is a synthetic abrasive used to grind and polish hard materials through a cutting action. It achieves this because silicon carbide crystals are extremely hard, ranking 9.0 to 9.5 on the Mohs scale. In simple terms, they are second only to diamond and boron nitride. This hardness allows SiC powder to cut efficiently into surfaces like metal, stone, ceramic, and glass. The powder comes in various grit sizes, measured in microns. A lower micron number means a finer particle, resulting in a smoother polish.
Essential Safety and Setup
Before you touch the powder, gear up. Silicon carbide particles are microscopic and sharp. Inhaling them is dangerous. Safety is non-negotiable.
- Respirator (N95 or P100): Wear this every time you handle dry powder or mix slurry. A dust mask is not sufficient.
- Safety Goggles: Protect your eyes from splashes and dust.
- Nitrile or Rubber Gloves: Keep the abrasive off your skin.
- Apron or Old Clothes: The slurry stains fabrics permanently.
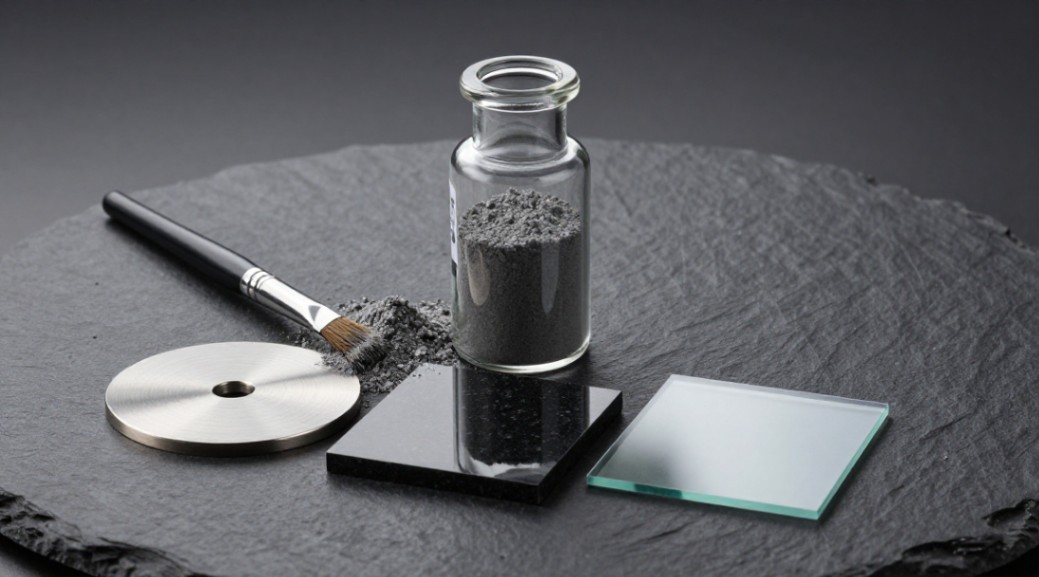
For your workspace, gather a polishing plate (a flat piece of glass, granite, or a dedicated metal lap), a small container for mixing, clean water, and lint-free cloths.
How to Prepare the Polishing Slurry
The key to effective polishing is the slurry. You never use dry powder directly on the workpiece. The abrasive must be suspended in a liquid carrier. Water is the most common choice. For some metals, a light oil can prevent rusting.
Here is the precise method: For a work area of about 100 cm² (like a 10cm x 10cm tile), start with approximately 5 grams of silicon carbide powder. Add water drop by drop, stirring with a non-metallic stick, until you achieve a creamy consistency similar to whole milk or thin paint. A ratio of 1 part powder to 3-4 parts water by volume is a good starting point. The slurry must be fluid enough to spread but thick enough to hold abrasive particles at the work interface.
The Step-by-Step Polishing Process
Polishing is a progression. You cannot jump from a rough surface to a mirror finish. Each step must remove the scratches from the previous, finer step. Skipping grits is the most common error.
- Surface Preparation (Rough Grinding): If your material has deep grooves or an uneven surface, start with a coarse abrasive like 80 or 120-grit silicon carbide paper or a grinding wheel. Flatten the surface first.
- Initial Polishing (Wet Sanding): Apply your prepared slurry to the polishing plate. Using a figure-eight or circular motion, press your workpiece firmly and evenly against the plate. Use a coarse grit like 220 or 320 to remove the grinding marks. Apply steady pressure.
- Grit Progression & Critical Cleaning: After the coarse stage, you must clean everything thoroughly. Rinse the workpiece, your hands, the plate, and your container. Any stray coarse particles will ruin your finer grits. Repeat the process with sequentially finer grits: 600, then 1200, then perhaps a final 3000-grit or micron-grade powder.
- Final Rinse and Dry: After the finest stage, rinse the workpiece under running water and dry it immediately with a clean, soft cloth to prevent water spots.
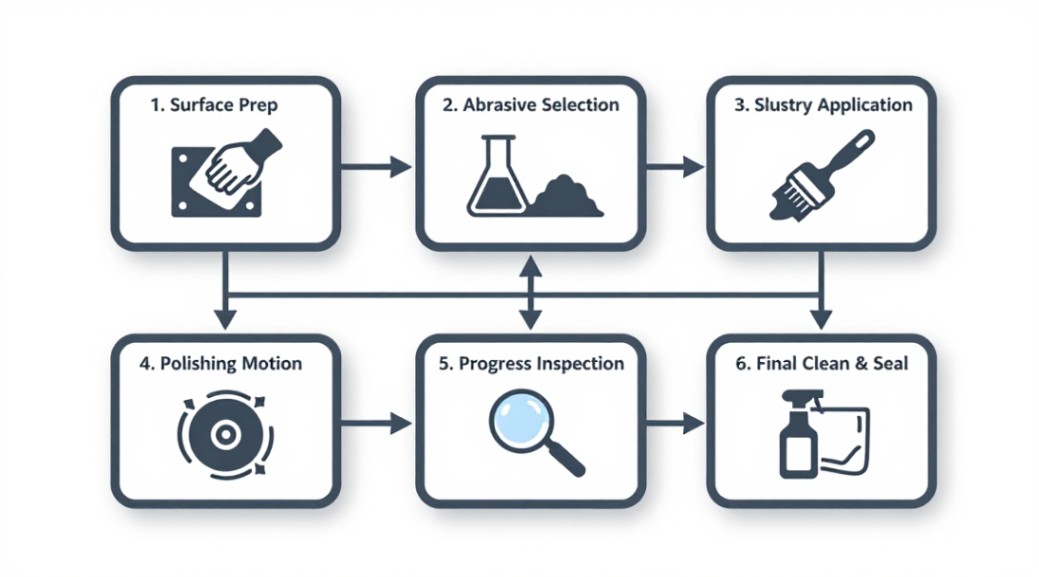
The table below summarizes this operational workflow for clarity.
| Step | Recommended Grit (Typical) | Key Action | Goal |
|---|---|---|---|
| 1. Surface Prep | 80 – 120 Grit | Coarse grinding/sanding | Remove major imperfections, flatten |
| 2. Rough Polish | 220 – 400 Grit | Apply slurry, use figure-eight motion | Remove grinding scratches |
| 3. Intermediate Polish | 600 – 1200 Grit | Thorough cleaning, then repeat polishing | Create a uniform semi-matte surface |
| 4. Fine Polish | 2500 – 3000 Grit (or ~9µm) | Use very light pressure, fresh slurry | Develop a pre-mirror, haze-free finish |
| 5. Final Cleaning | N/A | Rinse with water, dry immediately | Prevent contamination and spotting |
Common Applications for Silicon Carbide
This method works wonders on many materials. For metals like steel, aluminum, or brass, it prepares surfaces for plating or creates a satin finish. Stone workers use it to flatten and hone granite or marble slabs. Glass and ceramic artisans employ fine SiC grits to remove frost or fire scale and achieve optical clarity. It is a versatile, cost-effective abrasive for workshops.
Silicon Carbide vs. Other Polishing Abrasives
Choosing the right abrasive saves time and money. How does silicon carbide powder stack up?
| Abrasive Type | Hardness (Mohs) | Best For | Cost Consideration |
|---|---|---|---|
| Silicon Carbide (SiC) | 9.0 – 9.5 | Fast stock removal on hard, non-ferrous materials (stone, glass, ceramic, aluminum). Excellent for rough/intermediate steps. | Moderate. More affordable than diamond, generally harder and faster-cutting than alumina. |
| Aluminum Oxide (Al₂O₃) | 9.0 | Polishing ferrous metals (steel, iron). Softer than SiC, less likely to embed in steel surfaces. | Low. The most common and economical general-purpose abrasive. |
| Diamond Powder | 10 | Final polishing of ultra-hard materials (tungsten carbide, sapphire, advanced ceramics). Achieving the absolute finest mirror finish. | High. The most expensive option, reserved for final stages on the hardest substrates. |
| Cerium Oxide | ~6.0 | Final polishing and clarity restoration of glass only. A specialized, mild polishing compound. | Moderate. Ineffective on metals or stone, but the standard for glass finishing. |
Mistakes to Avoid and Best Practise Tips
Watch for these pitfalls. Using too much powder in your slurry creates a muddy paste that glazes over and stops cutting. A thin, milky consistency works best. Skipping grit steps means deep scratches remain, requiring you to start over. Be patient. Inadequate cleaning between stages guarantees coarse scratches in your final piece. Take the time to rinse.
For a true mirror finish, your final step matters. After your finest silicon carbide grit, switch to a dedicated polishing compound like diamond paste or cerium oxide on a soft cloth wheel or pad. This step removes the last micro-scratches. You will know to stop polishing when you hold the workpiece under a bright light and see no visible scratches, only a clear, reflective image. The surface will feel perfectly smooth to the touch.
Responsible Disposal and Final Thoughts
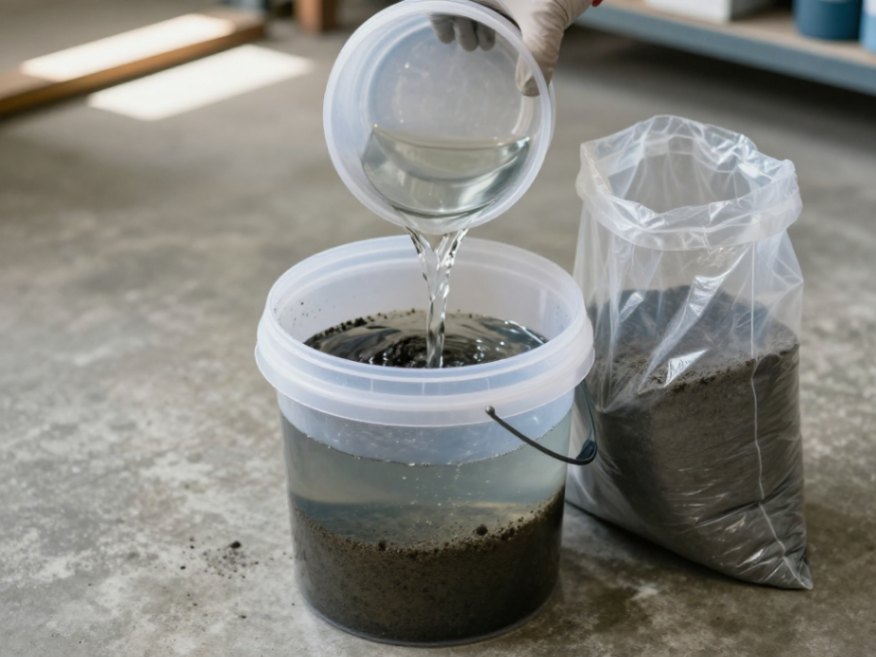
Used silicon carbide slurry contains heavy metals or stone dust from your workpiece. Never pour it down the drain. Let the slurry settle in a bucket for 24 hours. Decant the clear water off the top for disposal. Scoop the solid sludge into a plastic bag, seal it, and dispose of it with your regular solid waste, following local regulations.
Mastering silicon carbide powder for polishing gives you control over the final surface of countless projects. Start with the right safety gear, respect the grit progression, and clean meticulously. Your reward is a flawless, professional-grade finish that reveals the true beauty of your material.
eduloc founded on October 17, 2012, is a high-tech enterprise committed to the research and development, production, processing, sales and technical services of ceramic relative materials such as How. Our products includes but not limited to Boron Carbide Ceramic Products, Boron Nitride Ceramic Products, Silicon Carbide Ceramic Products, Silicon Nitride Ceramic Products, Zirconium Dioxide Ceramic Products, etc. If you are interested, please feel free to contact us.
RELATED POSTS
220 Grit SiC Abrasive: The Concrete Grinder’s Secret for Aggressive Stock Removal

China Titanium-based 3D Printing Powder 3D Metal Powder SLS 3D Printing
Properties and Applications of Nano Hafnium

Is 1500 Grit Silicon Carbide the Best Finishing Step? A Veteran’s Honest Breakdown

bismuth oxide Bi2O3 powder CAS 1304-76-3