High-Density Grinding Media Balls for Industrial Applications

Your Marble Floor Polishing Nightmare Starts Here
Are you staring at a cloudy, scratched, or simply lifeless marble floor after what was supposed to be a “final polish”? Did you follow a generic guide, slap on some 1200 grit silicon carbide, and end up with a mess? You’re not alone. Reddit and contractor forums are filled with DIYers and even pros who’ve been burned by misusing this specialized abrasive. This isn’t a gentle tutorial. This is a warning label. We’re going to dismantle the myths, expose the risks, and give you the uncompromising rules for using 1200 grit silicon carbide for polishing marble floors correctly. Fail to follow them, and you’ll pay the price in time and money.
What Exactly Are You Dealing With? (It’s Not Just “Sand”)
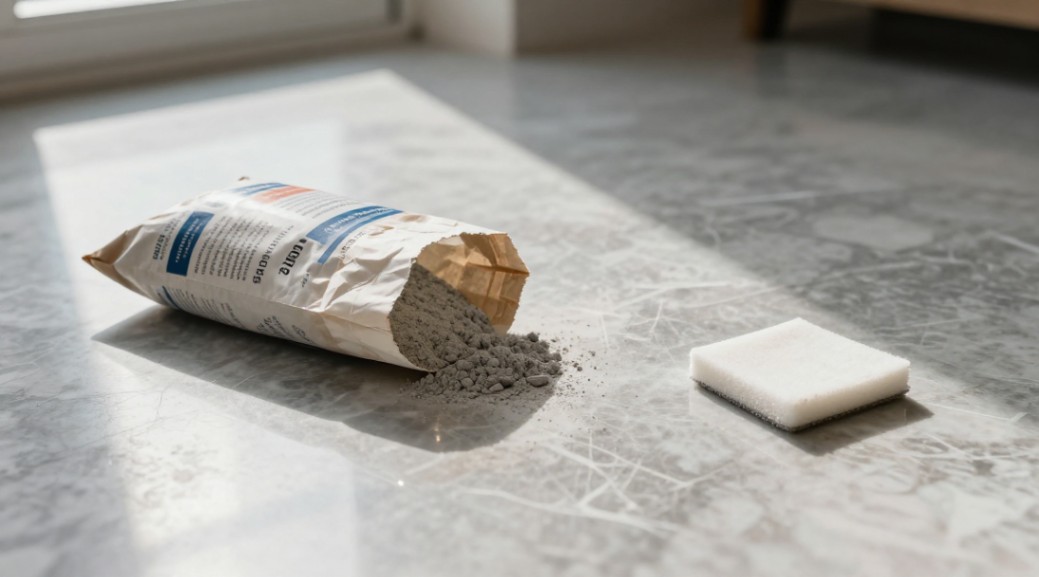
1200 grit silicon carbide is a synthetic, ultra-hard mineral abrasive. The “1200” refers to the particle size. It’s fine. Very fine. Think of it as the final, meticulous sculptor of your marble’s surface, not the brute that does the heavy lifting.
- Silicon Carbide vs. Diamond vs. Aluminium Oxide: Forget what you’ve heard. For natural stone finishing, the hierarchy is clear. Diamond abrasives cut fast but can leave micro-scratches. Aluminum oxide is softer, often used for coatings. Silicon carbide, especially at high grits, is the king of refinement. It cuts cleaner than diamond at this stage, leaving a more consistent, translucent surface on calcite-based stones like marble. Using diamond pads past 800 grit is often a waste.
- The Honing vs. Polishing Lie: Most articles get this wrong. 1200 grit silicon carbide is a honing grit, not a true polishing grit. Its job is to create a perfectly uniform, satin-smooth matte finish or to prepare the surface for true chemical polishing (with powders or oxides). If you expect a high-gloss mirror from 1200 grit alone, you will fail.
When to Use It (And When to RUN)
This abrasive has a specific, non-negotiable role. Use it outside these parameters, and you cause damage.
- DO Use 1200 Grit Silicon Carbide For: Final step before applying a polishing powder. Creating a uniform honed (matte) finish. Removing the very fine scratches left by 800 grit resin-bond diamond pads. Refining the surface after heavy grinding (50-200 grit).
- NEVER Use 1200 Grit Silicon Carbide For: Trying to remove deep scratches or etching. As your first step on a damaged floor. Dry polishing (you will create toxic dust and glaze the stone). Achieving a gloss without subsequent steps.
The Non-Negotiable Tool Kit
Attempt this with the wrong gear, and you’re sabotaging yourself from the start.
- Variable Speed Floor Polisher/Buffer: 175-300 RPM capable. You must control speed.
- Diamond Polishing Pads (Grits 50/100, 200, 400, 800): You MUST progress through these first. Skipping grits is the #1 cause of failure.
- 1200 Grit Silicon Carbide Honing Powder or Pads: Use manufacturer-recommended products designed for wet use on marble.
- Water Sprayer & Wet/Dry Vacuum: Constant water flow and immediate slurry removal are critical.
- Personal Protective Equipment (PPE): NIOSH-rated P100 respirator, sealed goggles, gloves, hearing protection.
The Wet Polishing Process: A Zero-Tolerance Protocol
Deviate from these steps at your peril. Precision is everything.
- Complete All Coarser Grits First. The surface must be flawless under bright light after 800 grit. No scratches. Period.
- Flood the Area. Spray a 2ft x 2ft (0.6m x 0.6m) section with clean water. Create a pond.
- Apply the Abrasive. Sprinkle approximately 1-2 tablespoons (15-30 grams) of 1200 grit silicon carbide powder evenly over the wet area.
- Polish Under Constant Lubrication. Using a white or red polishing pad on your machine, work the slurry in a tight, overlapping figure-eight pattern. Maintain a machine speed of 150-200 RPM. Add water frequently to keep a creamy, liquid slurry. Never let it dry out. Work for 2-3 minutes per square foot.
- Remove ALL Slurry Immediately. Use your wet vacuum to extract the spent slurry completely before it dries. Residual silicon carbide will scratch the surface during final buffing.
- Inspect Under Angled Light. The surface should have a uniform, velvet-like sheen. If scratches remain, you did not complete the previous grit steps correctly. Do NOT continue polishing; go back to 800 grit.
The Critical Transition Table: Your Roadmap to 1200 Grit
This table is your bible. Follow it exactly.
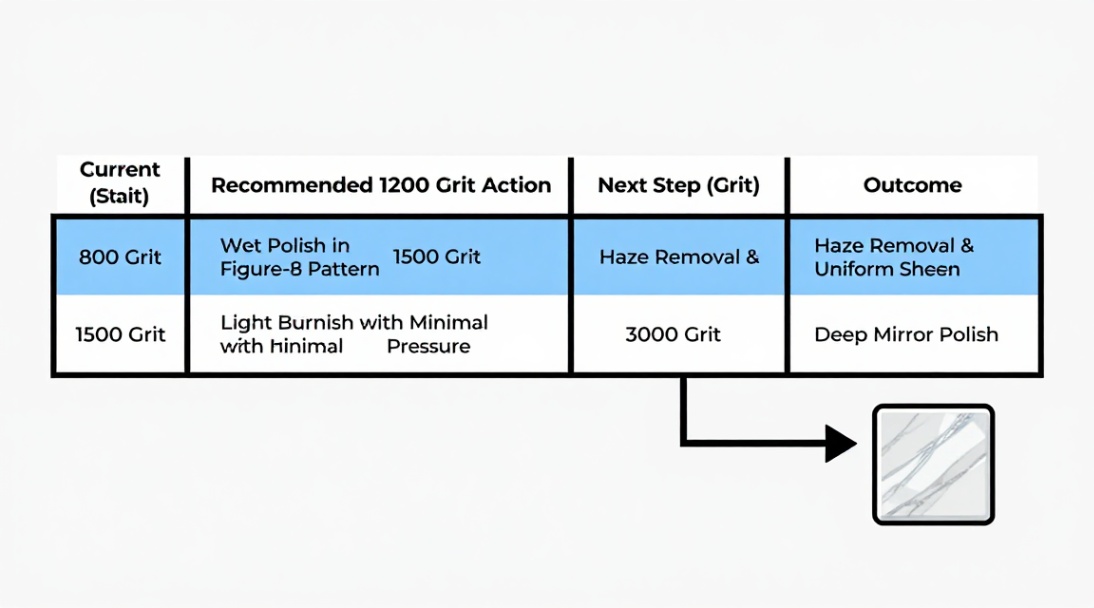
| Grit Stage | Abrasive Type | Primary Goal | Key Metric/Sign to Proceed |
|---|---|---|---|
| 50-200 Grit | Metal/Resin Diamond | Remove damage, level surface | Surface is flat, all stains/etching are gone |
| 400 Grit | Resin Diamond | Remove scratches from 200 grit | No visible scratches from previous step under light |
| 800 Grit | Resin Diamond | Refine to a pre-honed state | Consistent satin finish, zero deep marks |
| 1200 Grit | Silicon Carbide | Final honing, prep for polish | Uniform velvet matte, perfectly smooth to touch |
Safety: This Dust Will Hurt You
Ignoring this isn’t tough; it’s stupid. Silicon carbide dust is a crystalline silica hazard. Dry sanding creates airborne particles that cause silicosis, an incurable lung disease.
- ALWAYS Polish Wet. The water traps the dust.
- Wear a NIOSH P100 Respirator. Even when wet, mist exists.
- Isolate the Work Area. Use plastic sheeting and tape.
- Clean with a HEPA Wet/Dry Vac. Never sweep or use a standard shop vac.
5 Costly Mistakes You Are Probably Making
- Skipping Grit Steps. Jumping from 400 to 1200 grit? You’re just burnishing deep scratches into the stone, making them permanent.
- Dry Buffing or Using Too Little Water. This creates heat, glazes the marble surface, and fills the pores with dust. The result is a hazy, unpolishable film.
- Not Removing Slurry Residue. Dried silicon carbide acts like sand under your buffer on the next pass. It will micro-scratch everything.
- Using Worn-Out Pads. A hardened or loaded pad won’t hold the abrasive slurry correctly. It slides and burns rather than cuts.
- Expecting a Mirror Finish. Remember: 1200 grit silicon carbide hones. For gloss, you must follow with a true polishing compound (e.g., oxalic acid-based powder) and a high-speed burnisher.
Post-Polish Protocol: The Make-or-Break Cleanup
Your beautiful honed finish is vulnerable right now.
- Neutral pH Stone Cleaner Wash. Mix per label, mop the entire floor, and agitate with a soft brush. This removes any lingering alkaline slurry.
- Rinse. And Rinse Again. Use clean water and the wet vac. Change the water frequently. Residue is your enemy.
- Dry with Microfiber. Manually dry the floor to inspect. Any haze means leftover abrasive or soap.
Final Step: Lock It In or Watch It Die
A honed marble floor is porous. Leaving it bare is asking for stains.
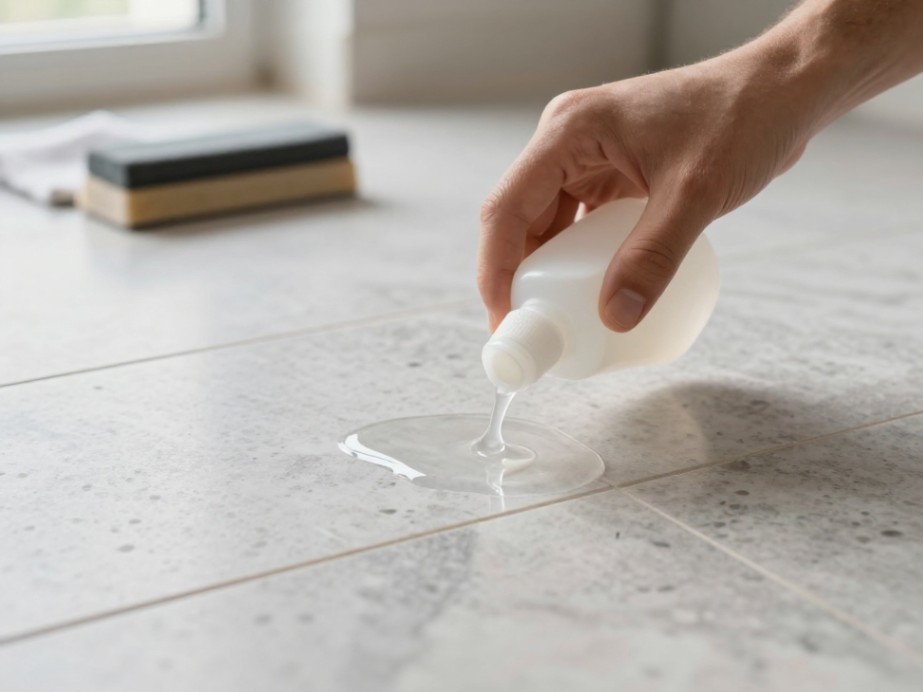
- Apply a High-Quality Impregnating Sealer. Choose a penetrating, solvent-based sealer designed for calcareous stone. Follow the dwell time to the second.
- Wipe Off All Haze. Buff the floor dry after the sealer cures. Any leftover sealer will create a sticky film.
- Maintain with pH-Neutral Cleaners Only. Never use vinegar, ammonia, or generic floor cleaners. They will etch and dull your work.
Stop Guessing. Use the Right System.
After 20 years, I don’t mix and match mystery powders. I use a controlled, proven system. The DiamondBrite 5-Step Marble Restoration Kit includes the correct sequence of diamond pads, the proper 1200 grit silicon carbide finishing paste, and the final polish. It eliminates the guesswork that ruins floors. Don’t waste another weekend or risk a client’s expensive marble. Get the right tools. Do the job once.
Click here to see the kit and stop polishing blind.
eduloc founded on October 17, 2012, is a high-tech enterprise committed to the research and development, production, processing, sales and technical services of ceramic relative materials such as 1200. Our products includes but not limited to Boron Carbide Ceramic Products, Boron Nitride Ceramic Products, Silicon Carbide Ceramic Products, Silicon Nitride Ceramic Products, Zirconium Dioxide Ceramic Products, etc. If you are interested, please feel free to contact us.
RELATED POSTS

Whats so unique about Molybdenum disilicide powder
Silver Indium Alloy (AgIn ( 83:17 Wt%))-Sputtering Target
Titanium Diboride Market Report and Outlook (2025-2030) titanium diboride
Rubidium Bromide (RbBr)-Granules
Tantalum-doped Lithium Lanthanum Zirconium Oxide (Li6.75La3Zr1.75Ta0.25O12)-Powder